Zubereitungsdauer: 1 h

Zutaten:
- 500 g Weizenmehl
- 1 TL Traubenzucker
- 2 TL Salz
- 3 TL Backmalz
- 350 lauwarmes Wasser
- 1/2 Würfel Germ
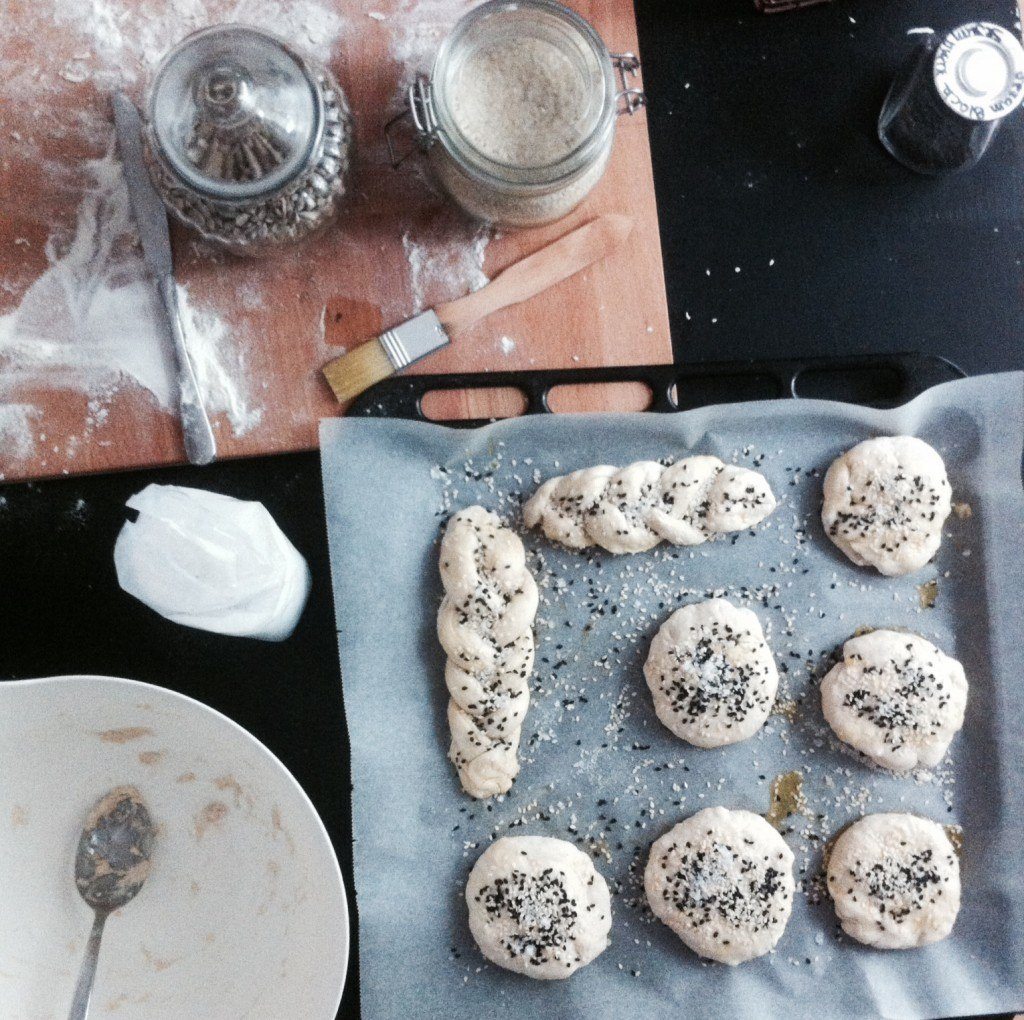
- Sesam, Salzflocken, Sonnenblumenkerne, Mohn, Kürbiskerne, etc. zum Bestreuen
Zubereitung:
- Den halben Germwürfel im lauwarmen Wasser auflösen und gut verrühren.
- Die Germ-Wasser-Mischung mit dem Mehl, dem Salz, dem Traubenzucker und dem Backmalz vermischen und kurz durchkneten.
- Den Teig in einer Rührschüssel 20–25 Minuten (nicht länger) über einem Wasserbad gehen lassen. Ich verwende dafür meist einen großen Topf, befülle ihn halbvoll mit Wasser, koche das Wasser auf und stelle ihn dann vom Herd bevor ich den Teig in der Schüssel darüber stelle. Das heiße Wasser soll dabei nicht den Boden der Rührschüssel berühren.
- Den Ofen auf 200 Grad vorheizen und das Blech auf mittlere Stufe stellen. Auf die unterste Stufe eine leere, zusätzliche Auflaufform stellen. In diese wird dann beim Backen ein bisschen Wasser gegossen, da das Brot mit ein bisschen Wasserdampf sehr viel mehr flaumig und locker wird :)
- Nach der 25-minütigen Rastzeit den Teig aus der Rührschüssel nehmen und auf einer mit Mehl bestäubten Arbeitsfläche gut durchkneten.
- Dann beliebige Brötchen formen oder flechten, mit etwas Olivenöl bestreichen und mit Sesam, Salzflocken, Sonnenblumenkernen, etc. bestreuen und leicht eindrücken.
- Die Brötchen auf ein Backblech mit Backpapier legen und auf mittlerer Ebene ins Rohr stellen. Gleichzeitig nun etwa einen halben Liter Wasser in die untere, leere Auflaufform gießen. Achtung, nicht vom Wasserdampf schrecken lassen :)
- Die Brötchen nun 20–25 Minuten backen. Sobald sie goldbraun sind einmal kurz wenden und 3–5 Minuten weiter backen.
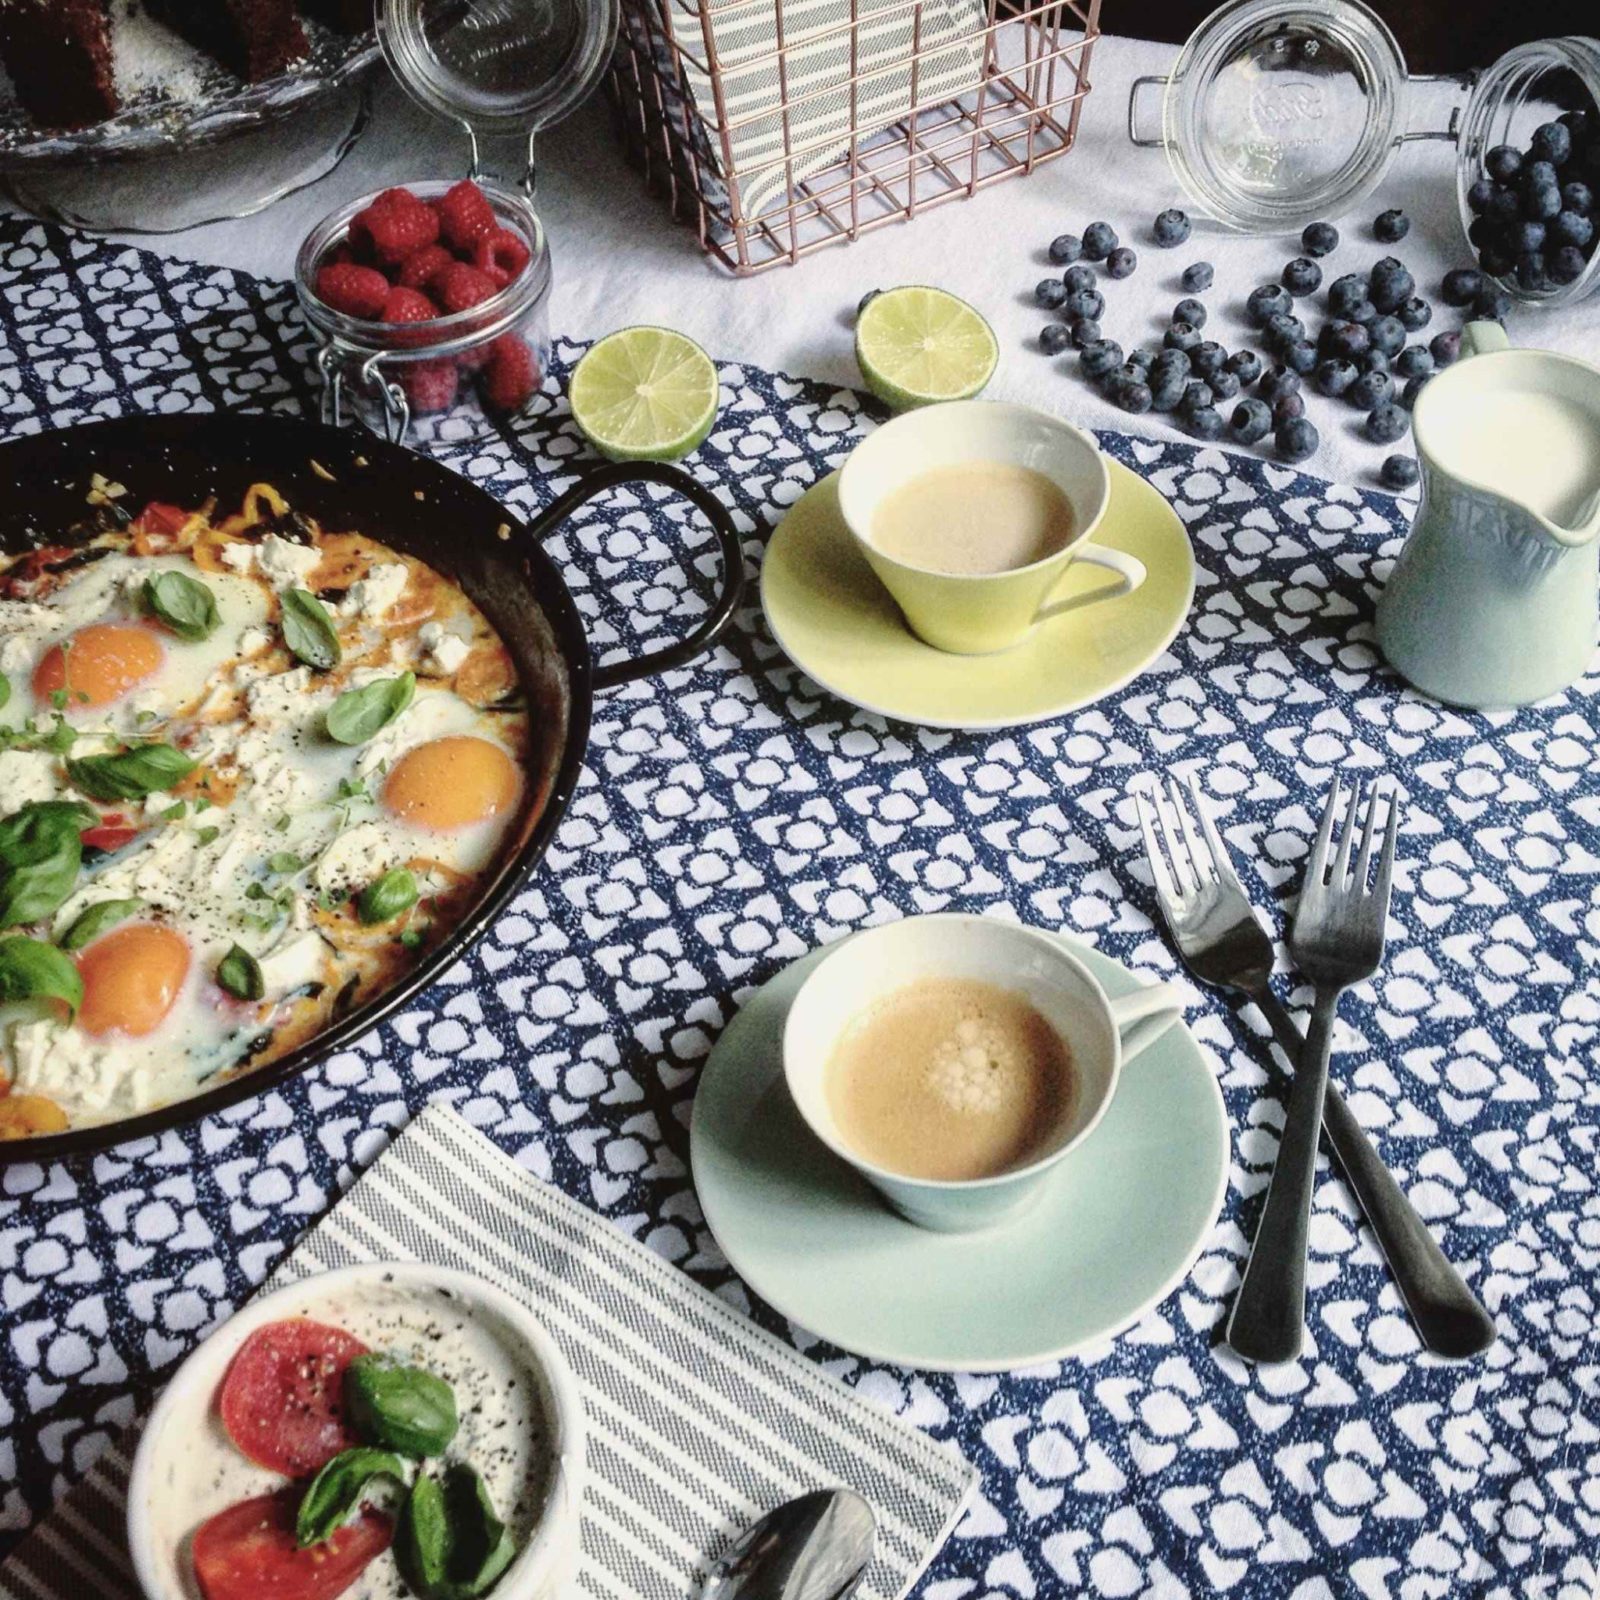
Dann am besten gleich warm und mit ganz viel Butter oder selbstgemachtem Pesto essen – oder eben aufheben, einfrieren, verschenken – je nachdem wie viel Selbstdisziplin man hat :)
Baking bread is one of those things that most people don’t dare to try due to various horror stories of sticking doughs and rock-hard outcomes. This fear is totally misplaced – at least when it comes to this recipe.
I made these buns for the first time on a very late Wednesday evening. I actually already have had dinner and just wanted to store them in the freezer for making burgers the following week. When I put them out of the oven around 11 pm I immediately knew that they would not survive the next few hours :) 10 minutes later we sat on the couch in front of the TV and ate THE WHOLE load of buns while still warm – with loads of butter and Maldon salt flakes. Even though my belly hurt like hell afterwards (you should never eat loads of warm bread) it was still absolutely worth it! It is a downright incredible and soothing feeling to eat fresh bread that you made with your own bare hands – believe me.
I love baking my own bread for 3 reasons:
- Homemade bread is absolutely delicious and kind of adventurous to make ;)
- I can decide what type of flour to use and I always know where it comes from. I mostly buy all types of organic flour directly from various local bread mills.
- It is so much cheaper than buying good, organic, local bread in supermarkets or the farmers‘ market. For 8 buns I need a total of 2$!

So get over your fear, put on an apron and start kneading!!!
For 8-10 buns you will need:
- 2 and 1/4 cups of wheat flour
- 2 tsp salt
- 1 tsp grape sugar/corn sugar
- 3 tbsp diastatic malt powder
- 1 and 1/2 cups of lukewarm water
- half of a yeast cube
- salt flakes, sesame, sunflower or seeds for garnishing (optional)
Method:
- Dissolve the yeast in 1 1/2 cups of lukewarm water and stir well.
- Add the flour, salt, grape/corn sugar and the diastatic malt powder to that yeast and water mixture and shortly knead until you get a solid dough.
- Now the dough will need to rest in a mixing bowl over a hot wather bath for 20-25 minutes. I usually bring water to boil in a big pot and then remove it from the stove before I place the mixingbowhl with the dough over it. Just make sure that the bottom of the mixingbowl does not touch the hot water.
- Preheat the oven to 390°F and place an additional, empty casserole dish on the bottom of the oven. You will need this later when you bake the buns.
- After the 25 minutes rest take out the dough of the mixing bowl and knead it well. Make sure you use a clean countertop sprinkled with flour so the dough does not stick.
- You then form the buns as you wish, coat it with a little bit of olive oil and then spread it with salt flakes, sesame seeds or whatever you want to feature your buns with :)
- Place your buns on a baking plate (do not – under no circumstance – fortget the baking paper!!!) and place the baking plate on the middle level of your oven. At the same time pour 2 cups of water in the casserole dish at the bottom of the oven. Don’t be surprised by all the steam! You need this steam for that fluffy and loose texture you want to have in your buns.
- You now bake your buns for about 20–25 minutes. As soon as they turn to a golden brown you flip them and continue baking for another 5 minutes.
When they come out of the oven, you probably will want to eat them right away – and despite the experienced stomachache I would still advise you to do so! :)
Of course you can also wait for a special occasion, freeze them or share them with your friends or loved-ones – but that depends on how much self discipline you are equipped with ;)


5 Kommentare
[…] Used: wheat flour, yeastVegetarian Option: […]
[…] Used: eggs, bananas, coconut flour/wheat flour, almond […]
Mein liebes Patenkind! Da ich dich telefonisch nicht erreiche um dir zu diesem blog zu gratulieren, mach ichs auf diese Weise: GRATULIERE Anna!!!!! Bist echt ein Hammer, was du da ins Netz stellst. Hab von Mama gehört, dass du am Sonntag in Wien irgendwo aufkochst – musst mir mal erzählen.
Also dann viel Spaß beim … u.a. Kochen!
Bussi von der Godi
[…] Küche ein, sondern hat es tatsächlich geschafft, mich zum Backen zu bringen. Und zwar nicht nur Brot und einfache Schokoladentartes– nein, auch andere – für mich verrückte – Dinge […]
[…] 4 kleine Ciabatta oder Baguettes (wir haben unsere Brötchen selbst gebacken) […]